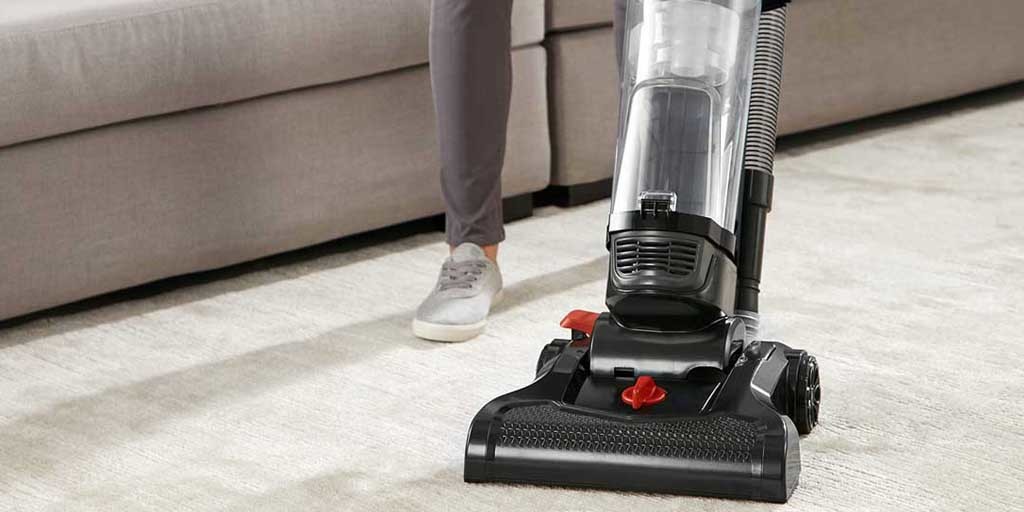
How to Replace a Vacuum Cleaner Belt?
No matter your vacuum’s reliability, you are going to have to periodically perform some maintenance tasks to keep the thing working smoothly and efficiently. Keeping your vacuum in mint condition is vital if you want a clean home, especially if you have pets. Pet hairs can cause allergies, and pet odors aren’t very welcoming if you have guests coming.
One of the most common maintenance tasks needed for the average vacuum cleaner is replacing the brush roller belt. The good news is that replacing this belt is both simple and cheap to do on your own. Replacement belts cost only a few dollars, with some coming in multi-packs to save you even more money. But why do these belts need to be changed? This article explains why these replacements are vital to the health of your vacuum and walks you through the simple steps to swap yours in a matter of minutes.
Why Would I Need to Change My Vacuum Cleaner Belt?
Over time, the brush roller belt of your vacuum is subjected to a fair amount of abuse that chips away at its effectiveness. If you have floor coverings, for example, like rugs and carpets, loose fibers can become entangled in the brush roller, putting a strain on the rolling action. This strain causes the belt to stretch and eventually lose efficiency.
Another common cause of belt failure is copious amounts of pet hair. Even if you have a vacuum with a more robust belt, if you have a pet that sheds lots of hair, it can accumulate on the brush roller and tangle up. In short, anything that restricts the movement of the brush roller will cause a malfunction in the belt, leading it to fail and potentially even break.
How Can I Tell That My Belt is About to Break?
While it can be difficult to say with certainty when exactly your belt will break, here are a few tell-tale signs that a replacement will be in your future:
Is your brush roll working efficiently? If you notice that the vacuum isn’t picking up debris than it usually would, that could be a sign that the belt is worn, and fast approaching the end of its life. To test this out, sprinkle some debris on the floor and run the vacuum over it. The brush roll should handle substances like this with ease, but if you notice that there are still remnants on the floor, then the next thing to do is to check the belt. You might also notice that while the brush roll turns, it seems to be spinning slower than before. The tension on the belt could be stretched and needs replacing.
Does your vacuum make more noise than before? If you notice an increased motor volume, it could be that the brush roller has stopped working altogether, and that is a sure fire sign that either the brush is jammed (and that will kill your belt), or the belt has already snapped.
What Tools Do I Need to Change My Vacuum Cleaner Belt?
Not only is belt replacement relatively easy, it requires a very small list of materials to complete. These include:
1. A Screwdriver
A simple screwdriver will do. You need to check the plate of your vacuum to see what type of screws the machine has. The plate, typically located towards the front end of the cleaner, is where the brush roller is.
2. A New Belt
The type of belt you’ll need will be listed in the instruction manual, on the manufacturer’s website if you enter your vacuum’s model number, or on the replacement belt packaging, which often lists the models to which it corresponds. There are also numerous websites offering genuine spares, and usually at less of a cost than going directly to the manufacturer.
A Note on Vacuum Belt Types
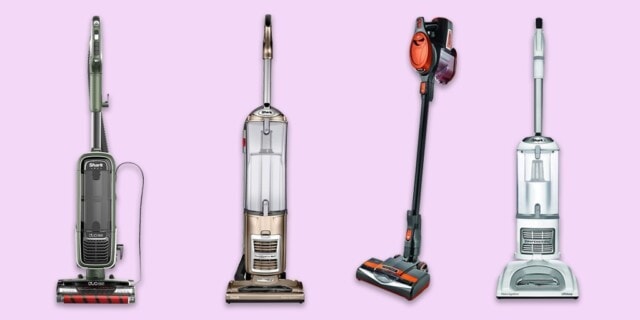
In addition to ensuring you have the correct belt to suit your vacuum model, it is also important to be aware of the different types of vacuum belts available. The first is the traditional round belt, which is elastic and thus works well at keeping the correct tension between the motor and the brush roll. Round belts should be replaced every six months or so depending on use.
Flat Belts are the more common type in use in newer vacuums. And because they are flat, there is more grip on the motor shaft, ensuring that the brush roll action is more efficient. Flat belts are designed to be pliant like the round belts, though, so over time the belt will start to lose elasticity and performance. Flat belts should be replaced roughly every nine to twelve months, meaning they have a longer life on average than their round counterparts.
There is also the cogged belt, which has grooved teeth along the underside of the belt. These teeth slot into a cog or sprocket on the brush roll and drive the rolling action through a much more efficient transfer of energy. Unlike the flat and round belt, which rely on stretched tension to operate efficiently, the cogged belt doesn’t rely on tension to transfer power but rather uses its teeth to do so. This means that the cogged belt has a much longer lifespan, at around two years. Finally, there are v-belts, which, similar to the cogged belt, has a tapered side that fits into a groove on the brush roll. It creates a secure contact with the surface and allows for a more efficient energy transfer from the motor. And again, it doesn’t rely on tension to do the job so it has a life expectancy of one to two years.
How Do I Replace the Belt on My Vacuum Cleaner?
With the correct replacement belt in your possession, you can follow these eight simple steps for replacement and return your vacuum to optimum roller efficiency:
STEP 1. After confirming that your vacuum is unplugged, turn your vacuum onto its back so that the base of the cleaner is facing you. Using the screwdriver, locate the screws that hold the brush roll plate in position, and carefully remove them. Make sure to put them in a secure location for easy reassembly later.
STEP 2. Locate the belt. Almost all upright vacuums have the belt in the same place, but if you’re not sure, you can find the brush roll and follow along its length until you see the belt. If you can’t see a belt on either side of the brush roll, it’s likely that the belt has snapped and still inside the machine.
STEP 3. Remove the plate and the brush roll. You’ll need to unhook the old belt to do this (if it’s still attached), but it should slide off easily. Make a note as to which way the brush roll went in. With the roller removed, you can reach into the machine and locate any loose pieces of the belt if it has snapped. Finding the debris is vital because any loose bits left in the vacuum could damage the motor. While you’re reaching into the vacuum, feel for the spindle of the motor that the belt wraps around. This is important because you’ll need to know where to attach the new belt once you’ve removed the old one.
STEP 4. Hook the new belt around the spindle that attaches to the motor. If it’s a specific type of belt, like the V-shaped or cogged variety, make sure that the belt is on the correct way up, and that the grooved element of the vacuum belt sits snugly in the cogs.
STEP 5. Before you replace the brush roller, give it a thorough clean. Make sure that all of the individual bristles of the brush are free from debris. Look for stray pet hairs or fibers wrapped around the brush roll; these will almost certainly cause you problems again if they get left in situ.
STEP 6. Now replace the cleaned brush roll, making sure that the new belt is still attached to the motor spindle. Offer up the belt and wrap it around the brush roll, again, making sure that the belt is a snug fit. Now put the brush roll back into its housing, making sure that the new belt isn’t over tensioned, and importantly, not too loose either. There should be a set amount of give on the belt.
STEP 7. Before replacing the plate that holds that brush roll in place, check that there aren’t any individual clips or screws that need to be tightened to lock to the roller in place. Give the roller a turn with your hands to see if there are any obstructions and that it spins freely. If it does, replace the plate and insert that screws. Tighten them by hand, making sure that you don’t put too much tension on them, remembering that the casing of the vacuum is plastic.
STEP 8. When you’re satisfied that the plate is secure, stand the vacuum back up and plug it in.
And now comes the moment of truth: switch it on, and if all went accordingly you should experience a smoothly running vacuum that is back at the top of its game.
We hope that this step-by-step guide has helped to demystify the replacement process and is as easy for you to follow as it is to perform the task of actually replacing a vacuum cleaner belt. Once you’ve done it, and there’ll be no stopping you in the future from making such replacements yourself. Now, go on and get your hands dirty!

