Top 10 Essential Tools and Materials for Tiling
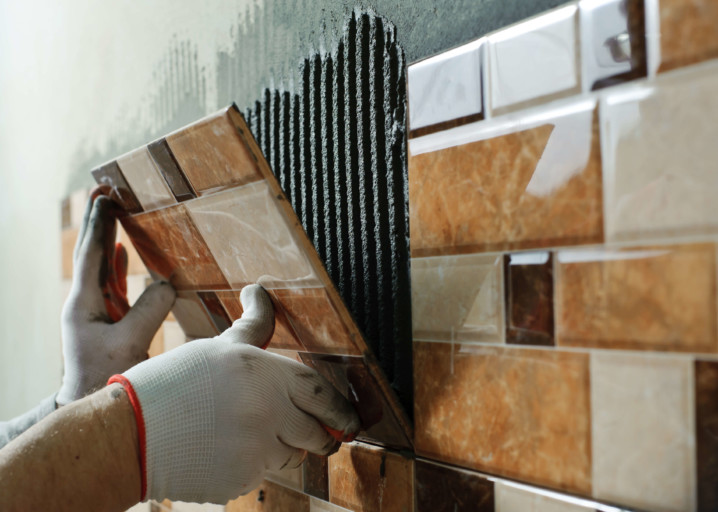
So, you’ve prepared the area to be tiled and made sure the surface is clean and free from debris. You’ve figured out the layout and decided on the tiles, but what tools do you need to complete the task successfully?
Before you zip off to the hardware store to spend a lot of money, take a moment to think about your required tool list. If you want to tile like a professional, then check out our rundown of the 10 essential tools and materials for tiling.
Wet Tile Saw or Snap Tile Cutter
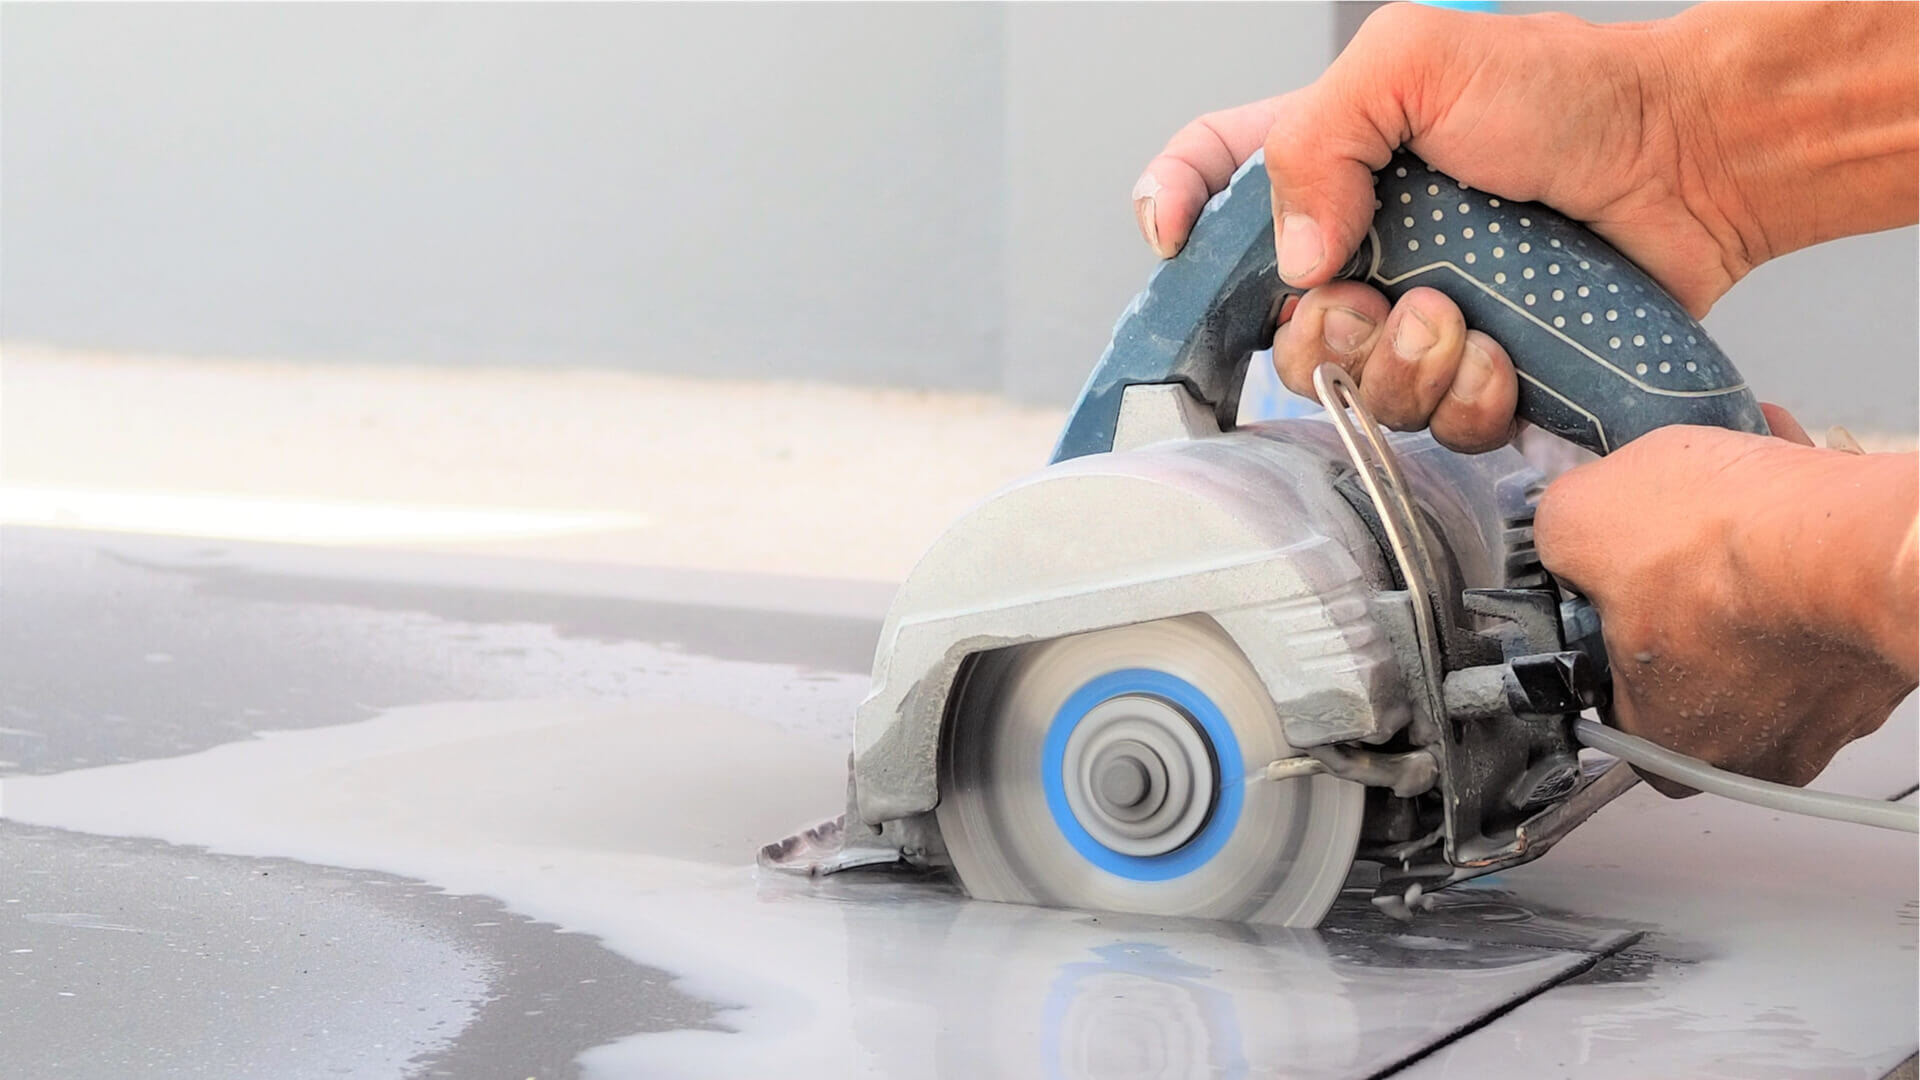
When it comes to getting the right tools, think about what budget you have and get the best. If you can stretch to a wet tile saw, it will be an investment worth making. Sure, it’s a one trick pony when it comes to uses, and will most likely sit in the garage gathering dust after the tiling gets done, but as an aid to a better job, nothing beats a wet tile saw.
It makes easy work of ceramic, porcelain, and stone tiles and reduces breakages, which ultimately save you money in the long run.
If the budget doesn’t stretch to a wet tile saw, then you’ll need a snap tile cutter. For a fraction of the price of some top-of-the-range wet tile saws, a snap tile cutter essentially does the same job but manually. It consists of a long frame with a handle attached to a tile cutting blade that runs down the center as well as a V-shaped pressure pad. You merely score the blade along the cutting line, and apply gentle pressure to the tile ensuring that it snaps with a clean edge.
The downside is that it takes some practice to get it right, with some tilers prefer using them only after they have mastered the techniques. This means that mastering the tool could cost you in damaged tiles before you can complete your tiling task.
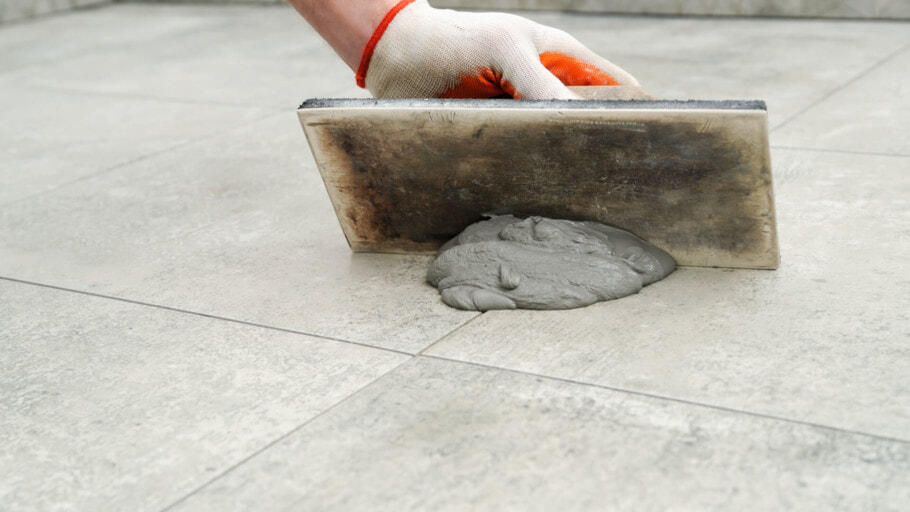
Mortar Mixer
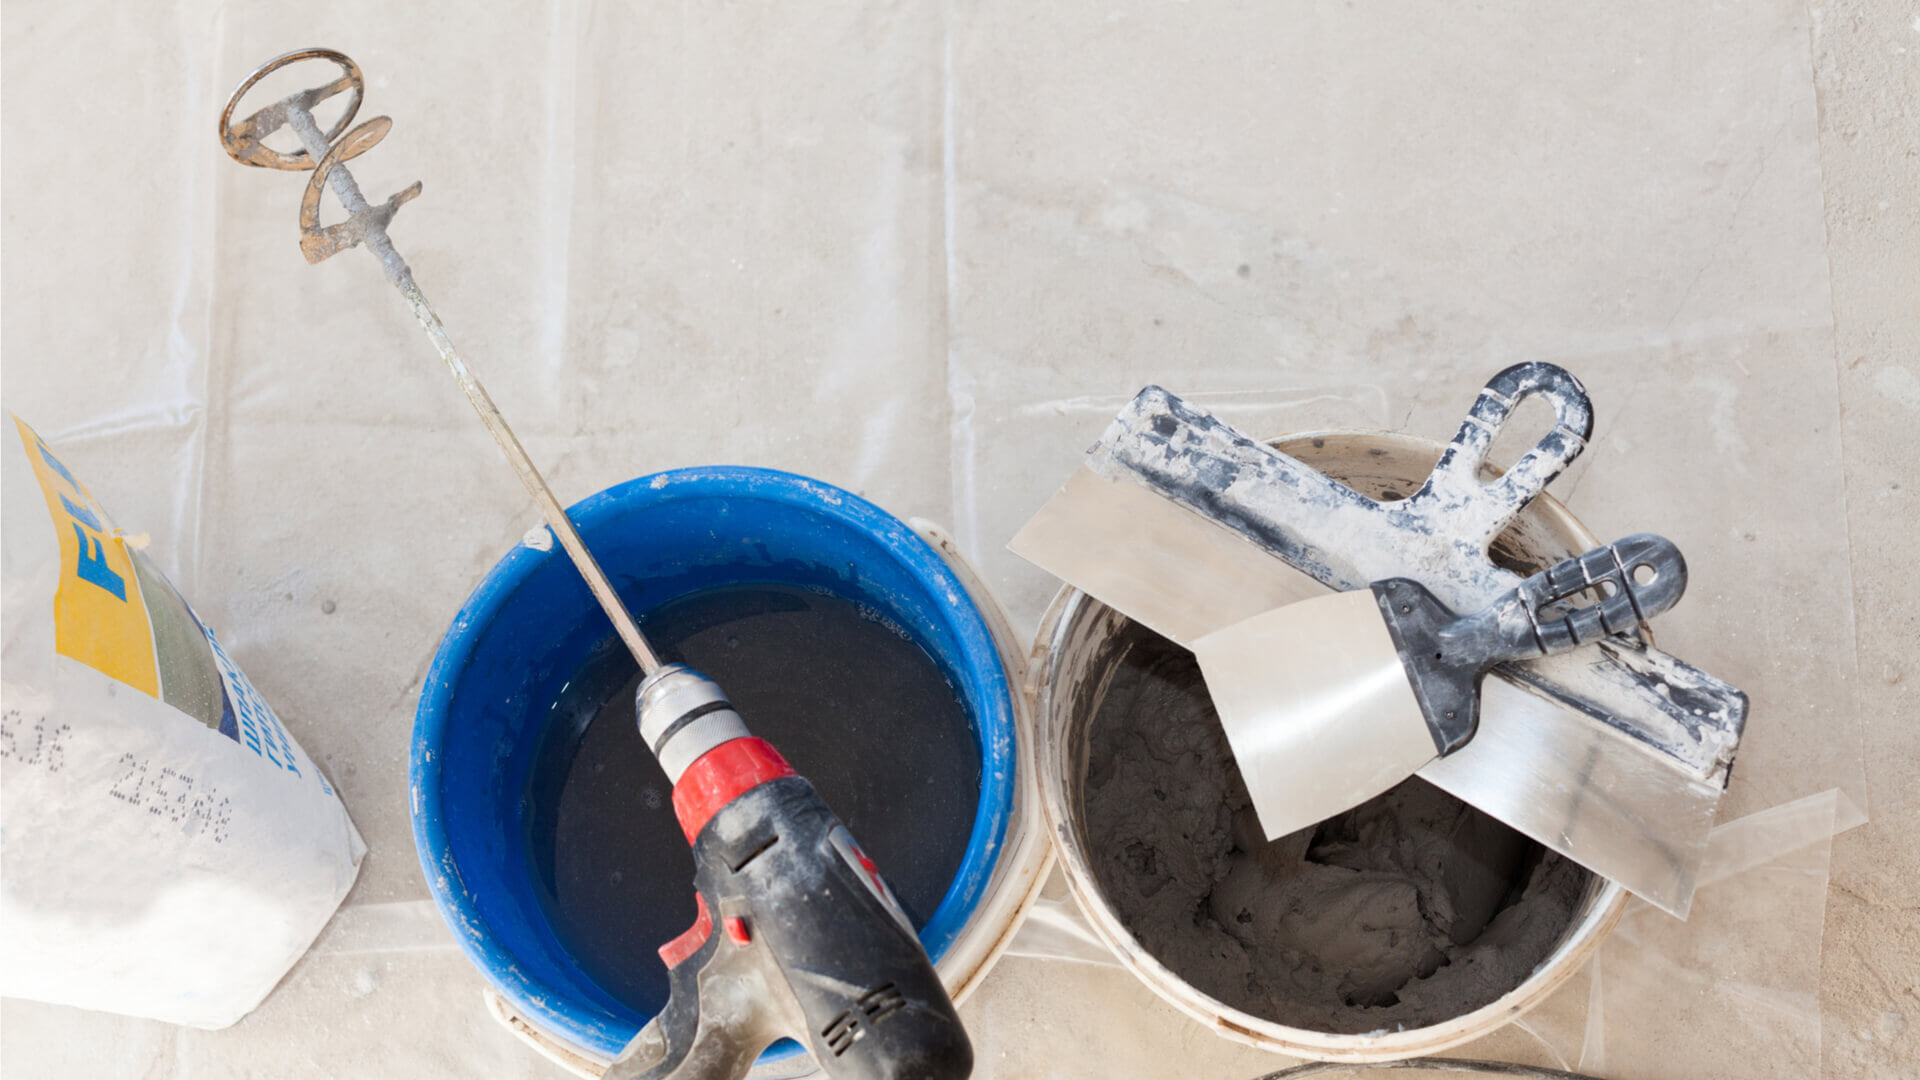
Sure, you could buy ready-mixed tile adhesive and grout, but that would be costly especially if you have a large area like a bathroom or floor to tile. It makes better financial sense to purchase the mortar and grout in powder form and mix it yourself.
For that, you’ll likely need a mortar mixer. These are typically long-stemmed implements that have what can best be described as cake mixer ends. They attach to a motor that whisks the mortar into a thick paste to make it ready to be applied to the tiles and walls. You can also purchase attachments that fit onto your power drill, and these would be cheaper than a dedicated mortar mixer, but they perform the same task.
Plastic Bucket
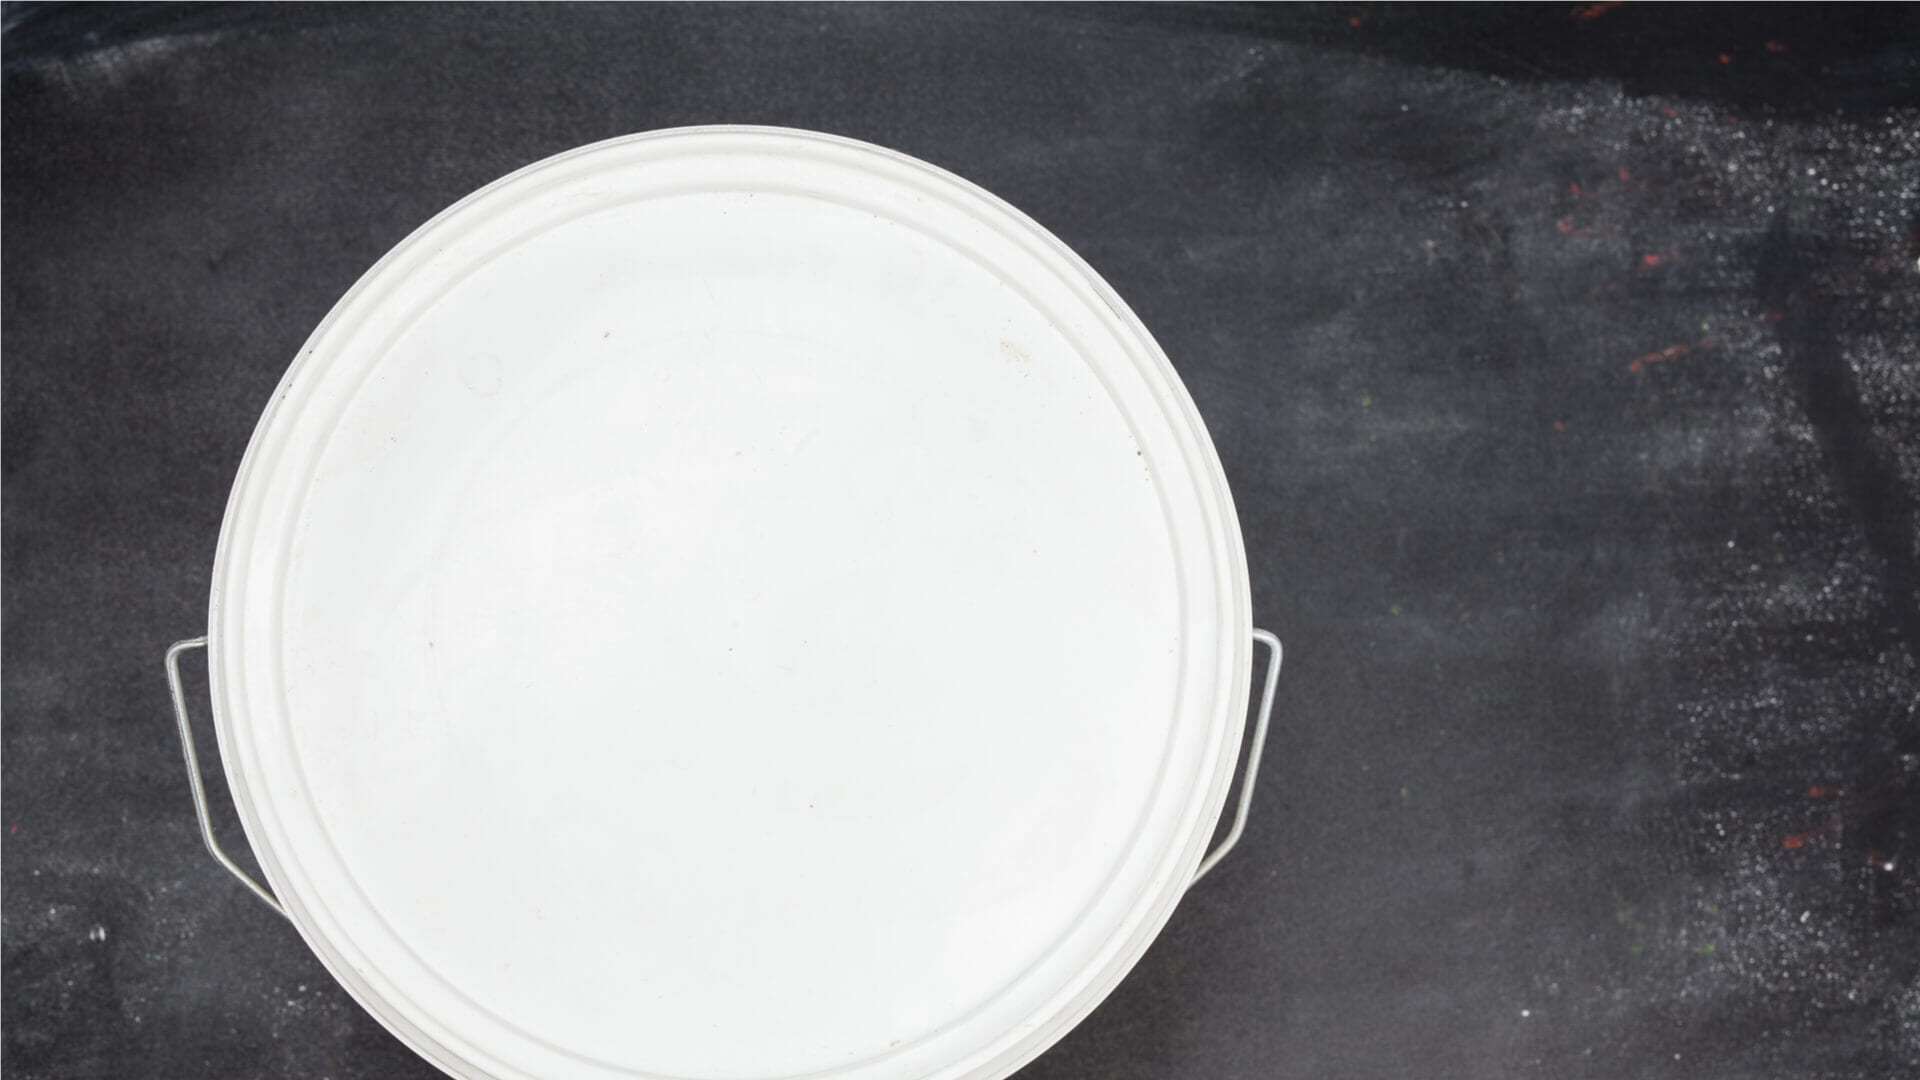
Where would we be without a good bucket? You will need to get the largest one you can find and try not to make the mistake of using a dirty or used bucket. Even if you decide to use premixed tile mortar, you’ll still need the bucket for sponging clean the grout from the tiles.
Grout Sponge
You could be forgiven for thinking that any old sponge will do. Grout sponges, however, are designed for the job and are dense, absorbent sponges that remove excess grout from the surface of the tiles with ease. Make sure that your sponge is clean, though, before you begin.
Keep in mind that you will need to remove ALL the excess grout, as any excess remaining will alter the final finish by dulling and tarnishing the tile.
Pointed Trowel or Tile Trowel
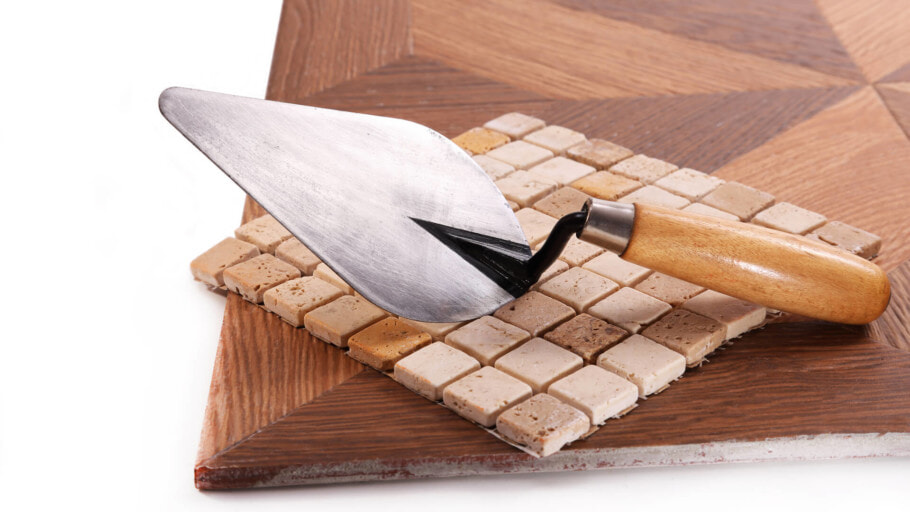
Some professionals use a pointed trowel to evenly spread of mortar on the wall or tile by eye and experience alone. For the novice, though, it’s best to stick with a dedicated tile trowel that consists of an edge that has large squares, or grooves cut into it to ensure that the mortar gets a uniform spread across the back of the surface. This helps to even the bond for a more secure grip.
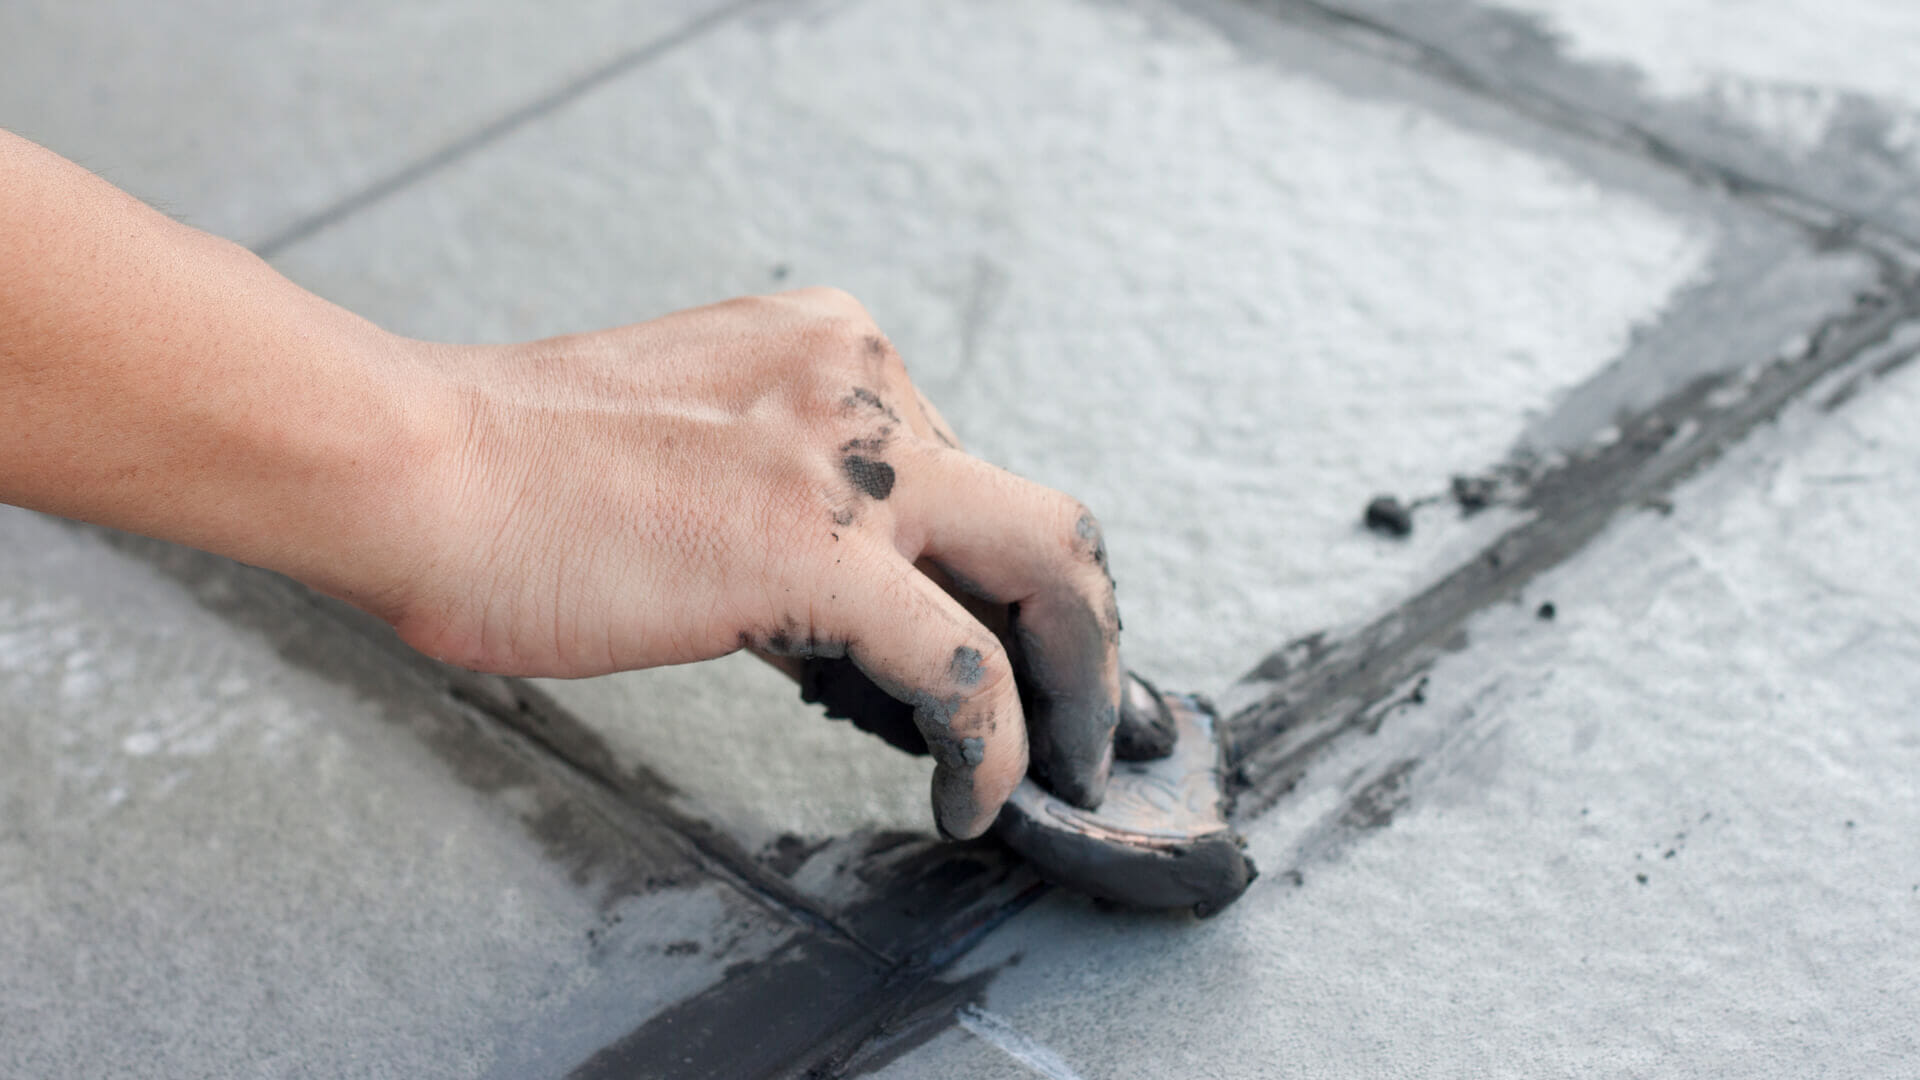
Grout Float
A grout float is a flat trowel, usually with the base made from rubber, and is used to spread the grout into the gaps between the tiles. The rubber ensures an even spread.
As you spread the grout, you will no doubt make a mess, but don’t worry; it’s perfectly normal, after all that’s what your grout sponge is for. Simply hold the grout float at an angle and start working the grout into the gaps, making sure that there are no air pockets of missed spots. If you fail to cover the spaces with grout completely, it is possible that water can get in and cause moisture issues, eventually resulting in the tiles falling off the wall.
Tile Nibbler

As the name suggests, this neat little tool is employed to nibble the tiles to create shaped edges that the tile cutter can’t handle. It’s handy for cutting tiles for curved edges and irregular lines, so if you have a tiling job that looks like it will be a challenge, a tile nibbler could be the tool you need.
Chalk Line or Laser Level
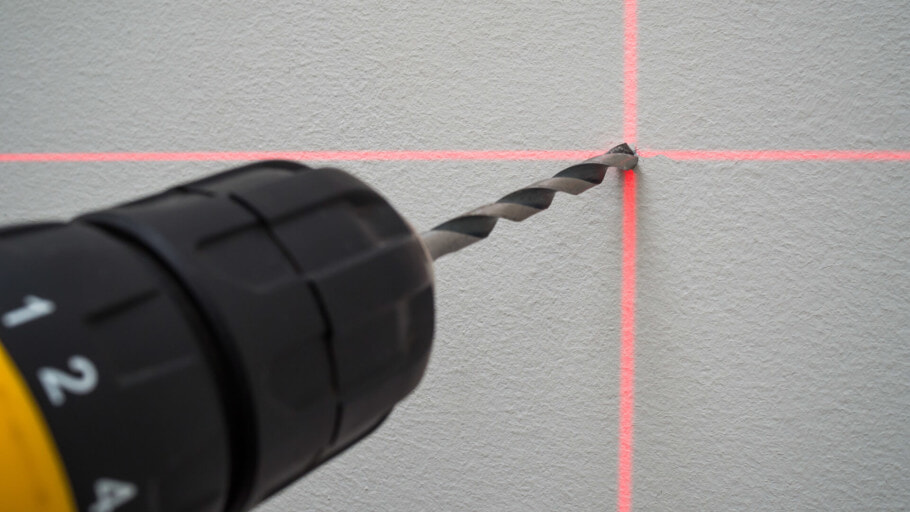
Tiling is mostly about straight lines, and so it is essential to mark them out to make sure that the first line of tiles is straight. Starting at an angle, no matter how small it may be, will result in wonky lines that will ruin the final result.
A chalk line is a simple tool consisting of a length of cord or string coated in chalk dust. Find the line you want, snap it against the wall, and the result is an imprint for you to use as a guide. A laser level does the same thing only with a bit more accuracy and style, but it will cost you more. If budget or complicated technology is a concern, you can’t go wrong with the tried-and-tested method of a length of chalk-coated string.
Bubble Level (For Walls Only)
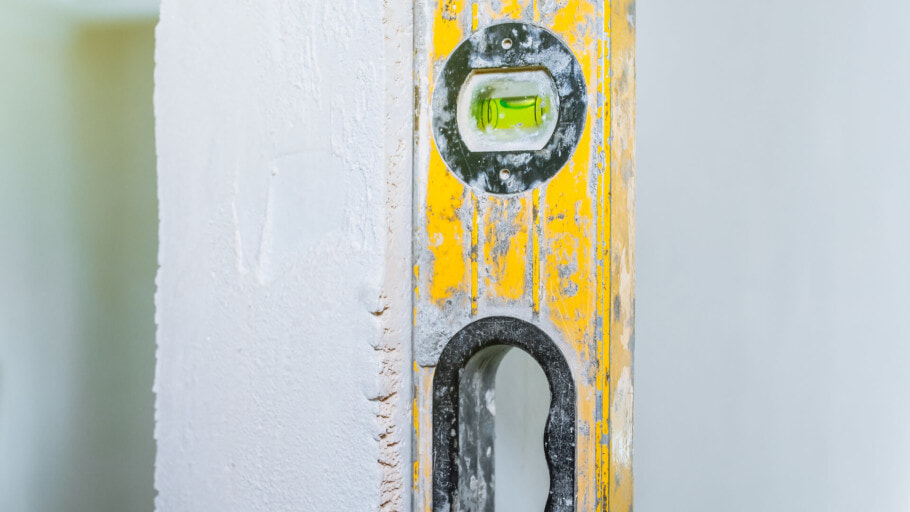
A bubble level, or spirit level as it’s sometimes known, is a simple way to ensure that once you’ve drawn your chalk line and applied the first row of tiles, you are staying on track and not veering off at an angle. It’s important to check early and often, as that will remove the risk of starting all over when you’ve tiled half the wall. Apply the tile then check and recheck, making sure that you pay attention to the vertical angle as well as the horizontal line.
Tile Spacers

For the novice to the professional tiler, tile spacers can be invaluable little plastic crosses that ensure the space between each tile is uniform. They also help to stop the tile from slipping as the mortar bonds with the wall.
Rubber Mallet
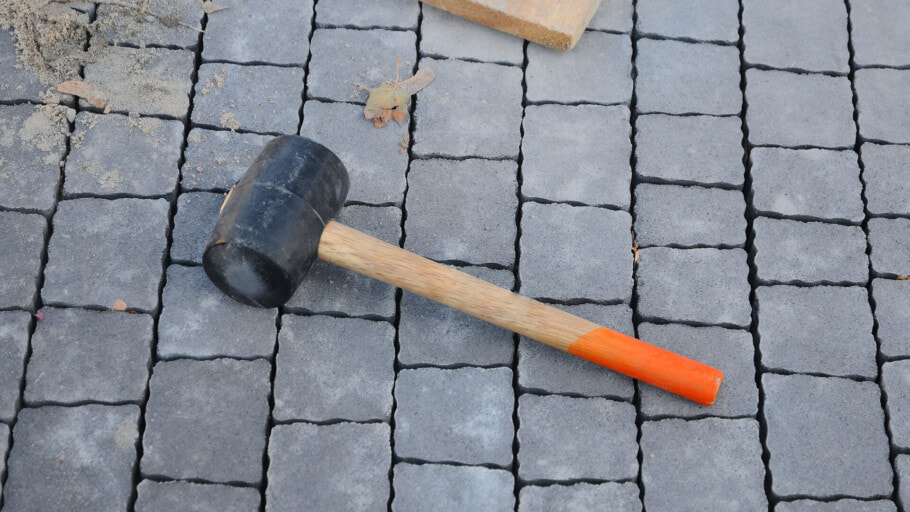
Once you are ready to apply the tiles to the wall or floor, a rubber mallet is an ideal tool to gently nudge the tile into place and ensure it bonds properly. It spreads the tile mortar evenly and fills the textured surface on the tile.
The key is not to be heavy-handed. It’s better to tap the tile multiple times than giving it a hard whack that could end in the tile cracking and more expense. Don’t use a hammer as this will result in breakage.
Final Thoughts
The enemy of a neat and tidy job is unpreparedness, and part of that is using the wrong or inappropriate tools. The saying is “a bad workman blames his tools” when it should be “a bad workman uses the wrong tools.” Don’t be that person; ensure that your tiling job gets finished to a professional standard.


