How To Clean Humidifiers
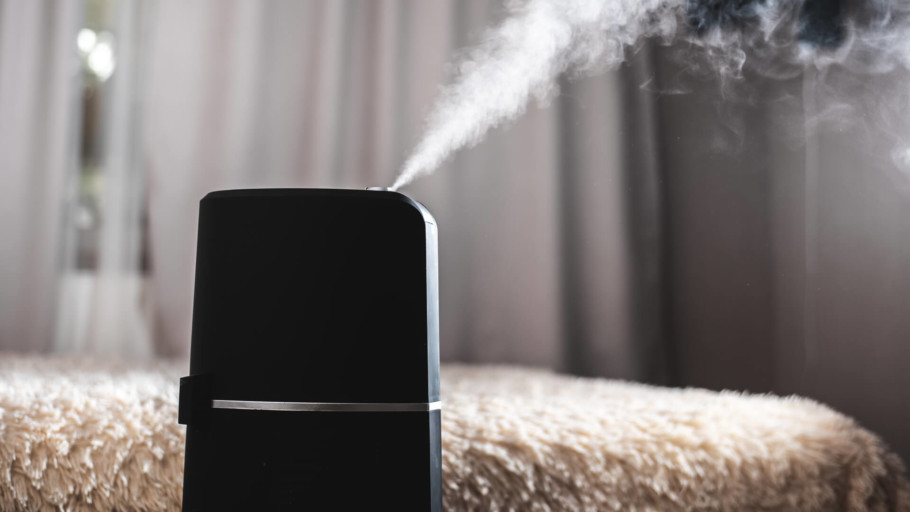
If you live in an area where winters are especially cold and dry, then a humidifier might be what you need to make it through the season. Humidifiers work by releasing either cool or warm mist to add moisture to the surrounding air. This helps to reduce the effects of dry hair at home. Since water is a key component of how a humidifier works, humidifiers will need more care and more frequent cleaning compared to other home appliances. In fact, it’s crucial to keep your humidifier as clean as possible.
In this guide, we’ll discuss potential health risk factors associated with humidifiers and how you can prevent these risks through proper care and maintenance of your humidifier.
The Importance of Cleaning Your Humidifier
There are two main reasons for why you should clean and maintain your humidifier. First, cleaning your humidifier helps ensure that it keeps working properly. Like most other home appliances, properly caring for your humidifier helps prolong its service life and ensures you get your money’s worth.
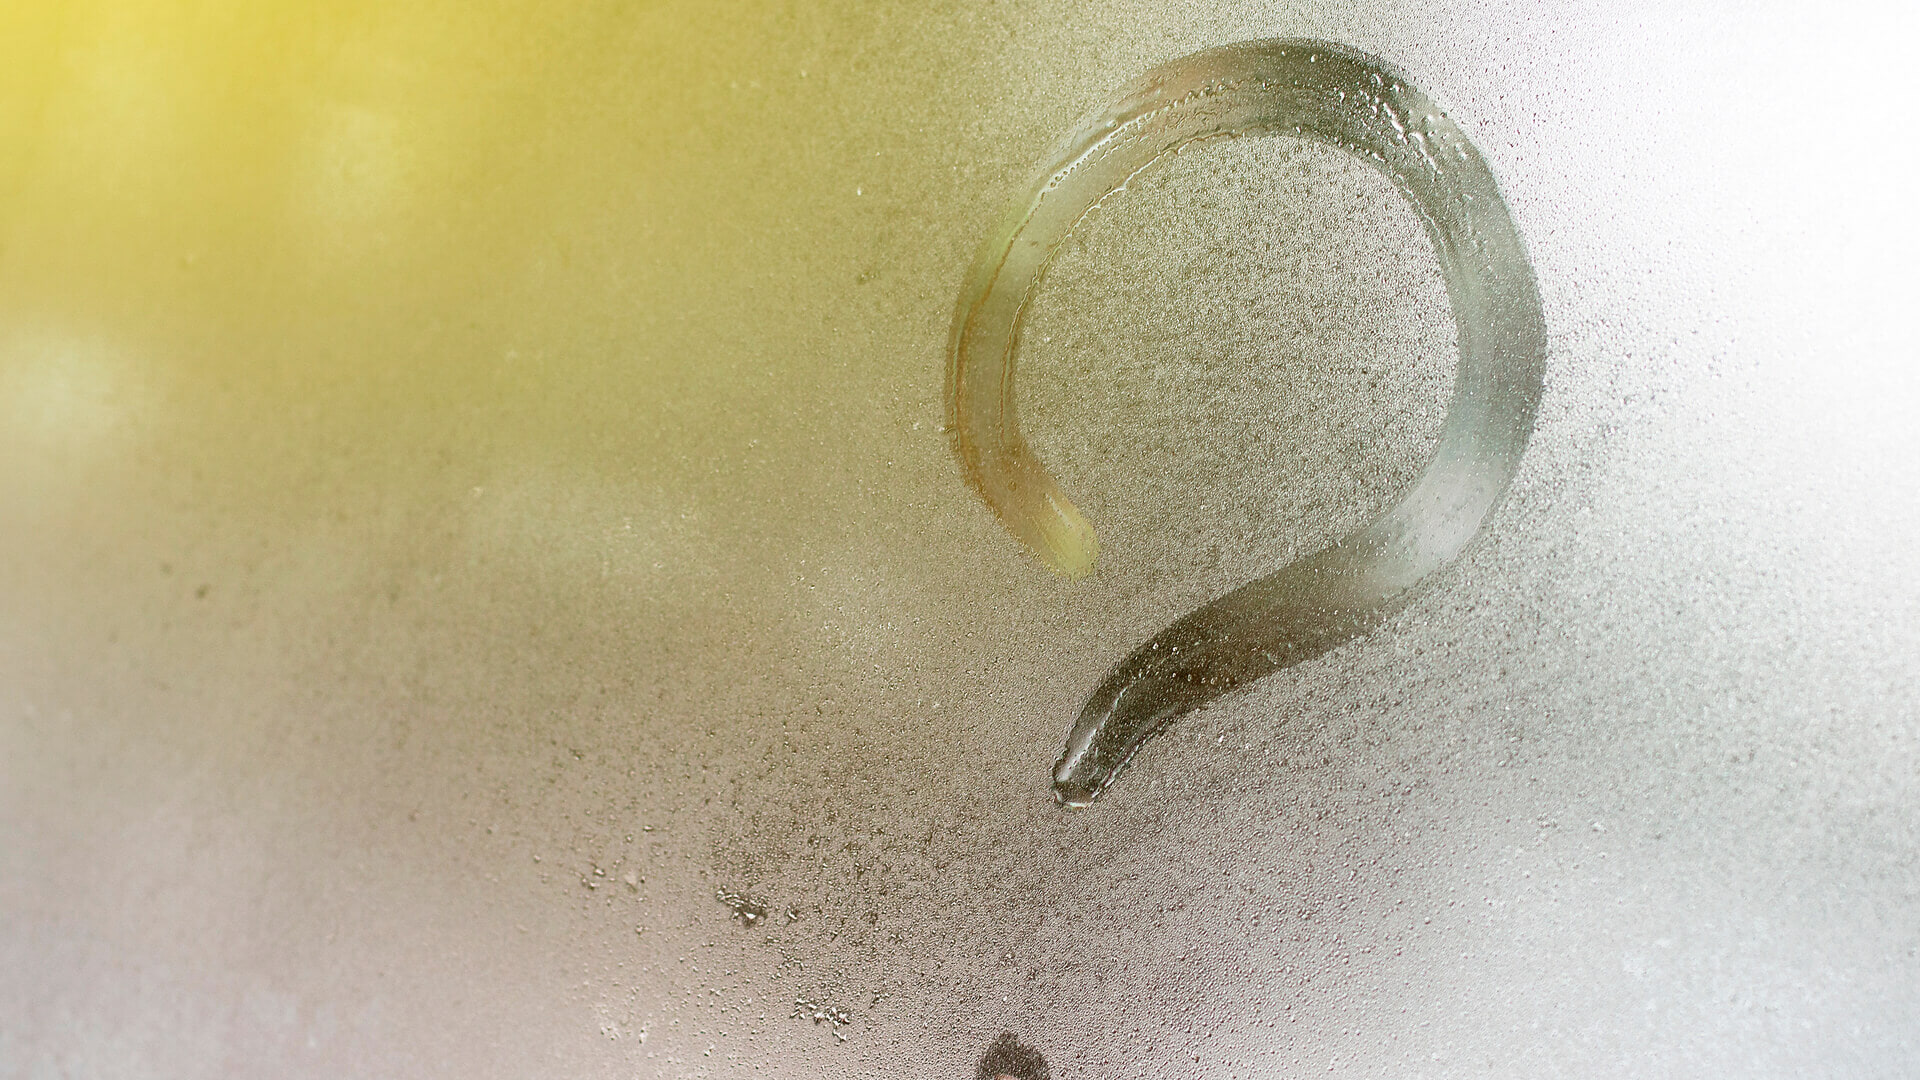
Second, and more importantly, is that keeping your humidifier clean means preventing it from releasing and spreading potentially harmful bacteria and mold into the air. Humidifiers have the potential to become prime breeding grounds for mold, mildew, and bacteria because they work with copious amounts of water. Without proper cleaning and disinfection, you risk allowing the water in your humidifier to stagnate and collect dirt.
If you turn on the humidifier without cleaning it properly, you run the risk of breathing in unsafe mist laced with germs and bacteria. Allowing a dirty humidifier to run continuously not only degrades air quality and but also increases the risk of negative health effects such as asthma attacks, aggravated allergies, severe coughs, high-grade fevers, and more. In more extreme cases, long-term use of unclean humidifiers can even cause lung inflammation and the development of more serious respiratory diseases.
All of these risks can be avoided by dedicating a few minutes every day to cleaning your humidifier as well as committing to a weekly, long-term maintenance schedule.
Proper Care and Maintenance

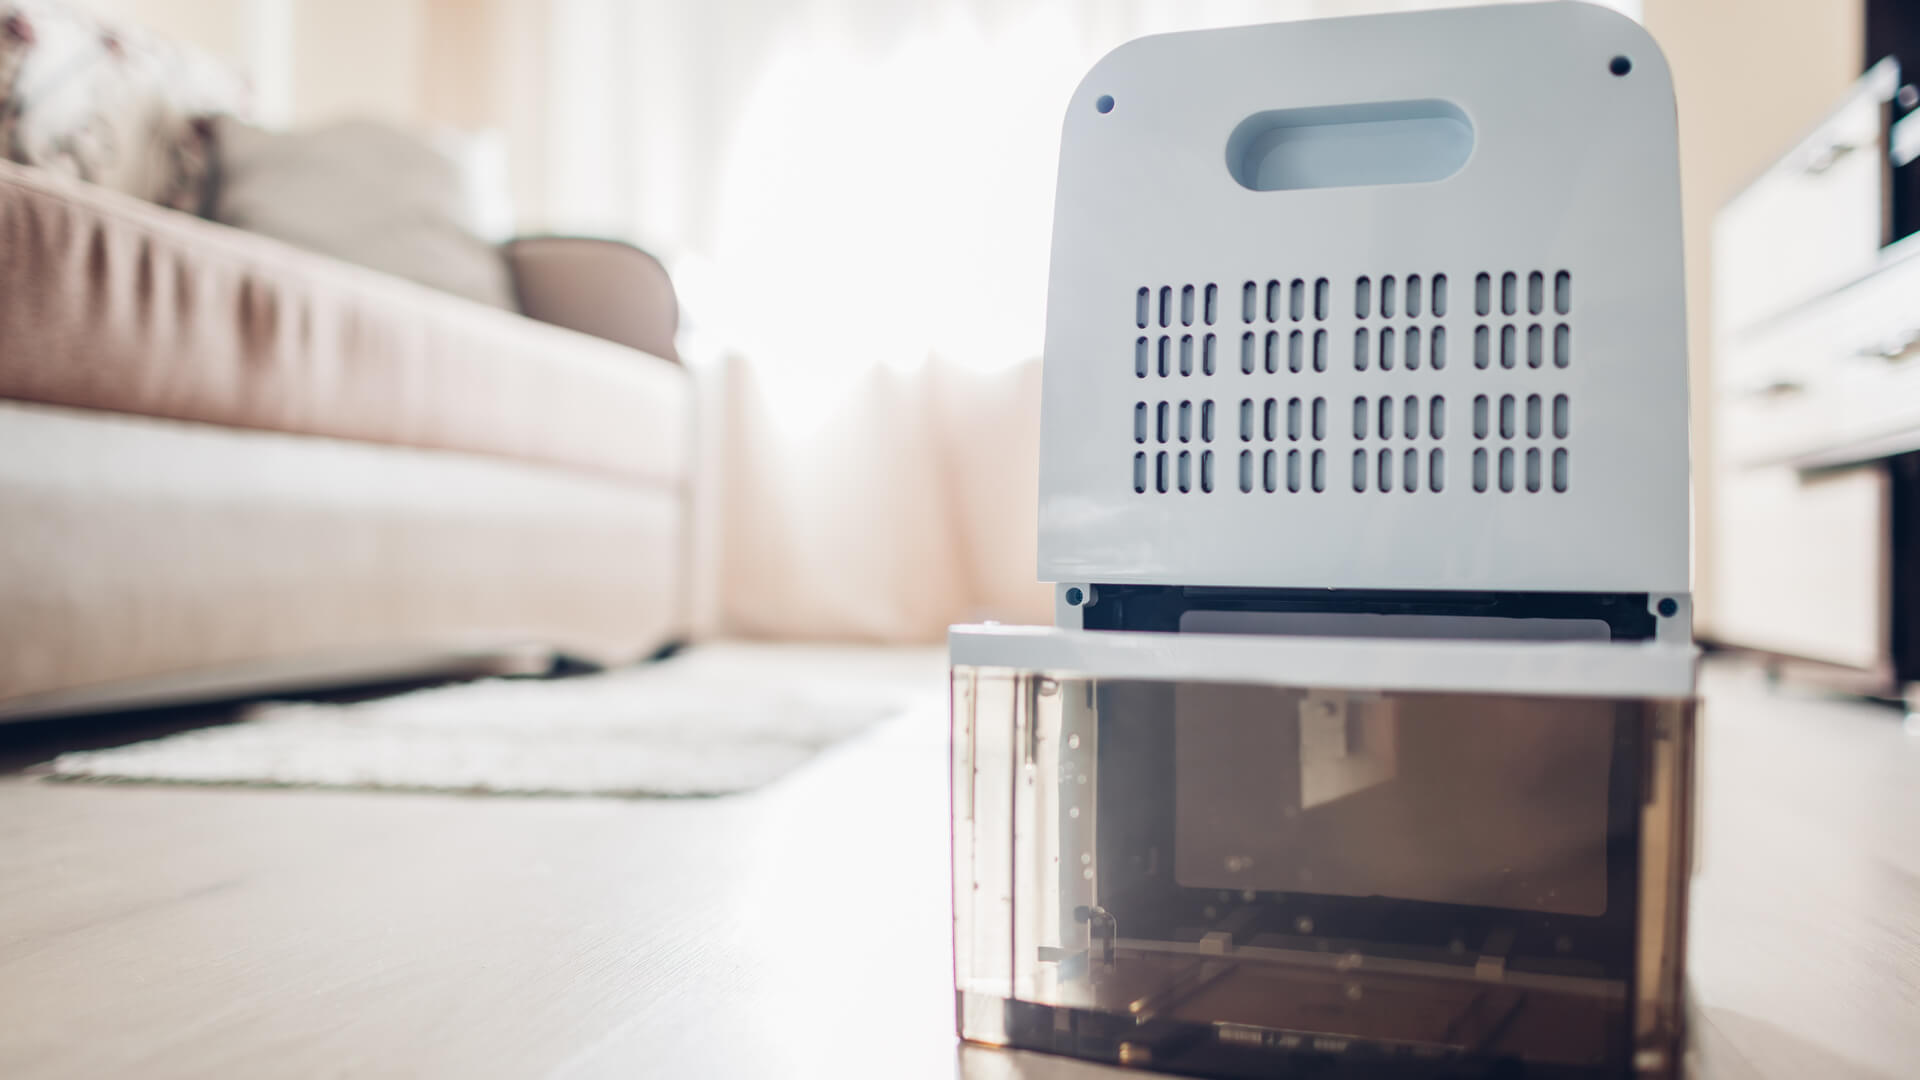
First off, it’s important to read through your humidifier’s instruction manual carefully or look up the manufacturer’s recommendations for cleaning the humidifier. Generally, most humidifiers are cleaned the same way. Though they can be constructed differently, generally speaking humidifiers come with a water tank, or reservoir, and a base. If you humidifier has other parts and pieces, it’s not a problem as these parts are normally cleaned the same way as the rest of the humidifier. Be sure to look through the instruction manual though to confirm. Any damage on the humidifier or its parts due to cleaning may void your warranty.
Daily Cleaning

If you use your humidifier on a daily basis, then it will need to be cleaned daily, too. This ensures that the mist being released is as clean as possible while it’s running. Daily cleaning of your humidifier should take no more than a few minutes. At the very least, you should be changing the water in your humidifier’s water tank every day or after a period of inactivity. Always keep in mind that stagnant water is dangerous as it promotes the growth and proliferation of potentially harmful microorganisms.
To do this, remove the water tank and the water tray. If your humidifier has a filter, be careful not to damage it. Take the cap off the water tank and empty any remaining water inside. Flush the container under a faucet with warm water. If you have a model without the water tank, empty the water remaining in the base, flush it out with warm water, and wipe it down with a paper towel. If there’s caked on dirt, use a dry or slightly damp cloth to wipe the entire unit down. Never submerge the entire unit water, and don’t wet dials, vents, and any of the electric or mechanical attachments.
Once clean, you can refill your humidifier with fresh water as needed. If changing the water is tedious, then you can allow your humidifier to run continuously until it uses up all the water. Remember, the goal is to prevent the water from becoming stagnant.
Weekly Cleaning
On a weekly basis, your humidifier will need a deeper cleanse to help prevent mineral deposits from accumulating and to give you an opportunity to check on your humidifier’s filter (if it has one).
To get started, here’s what you’ll need:
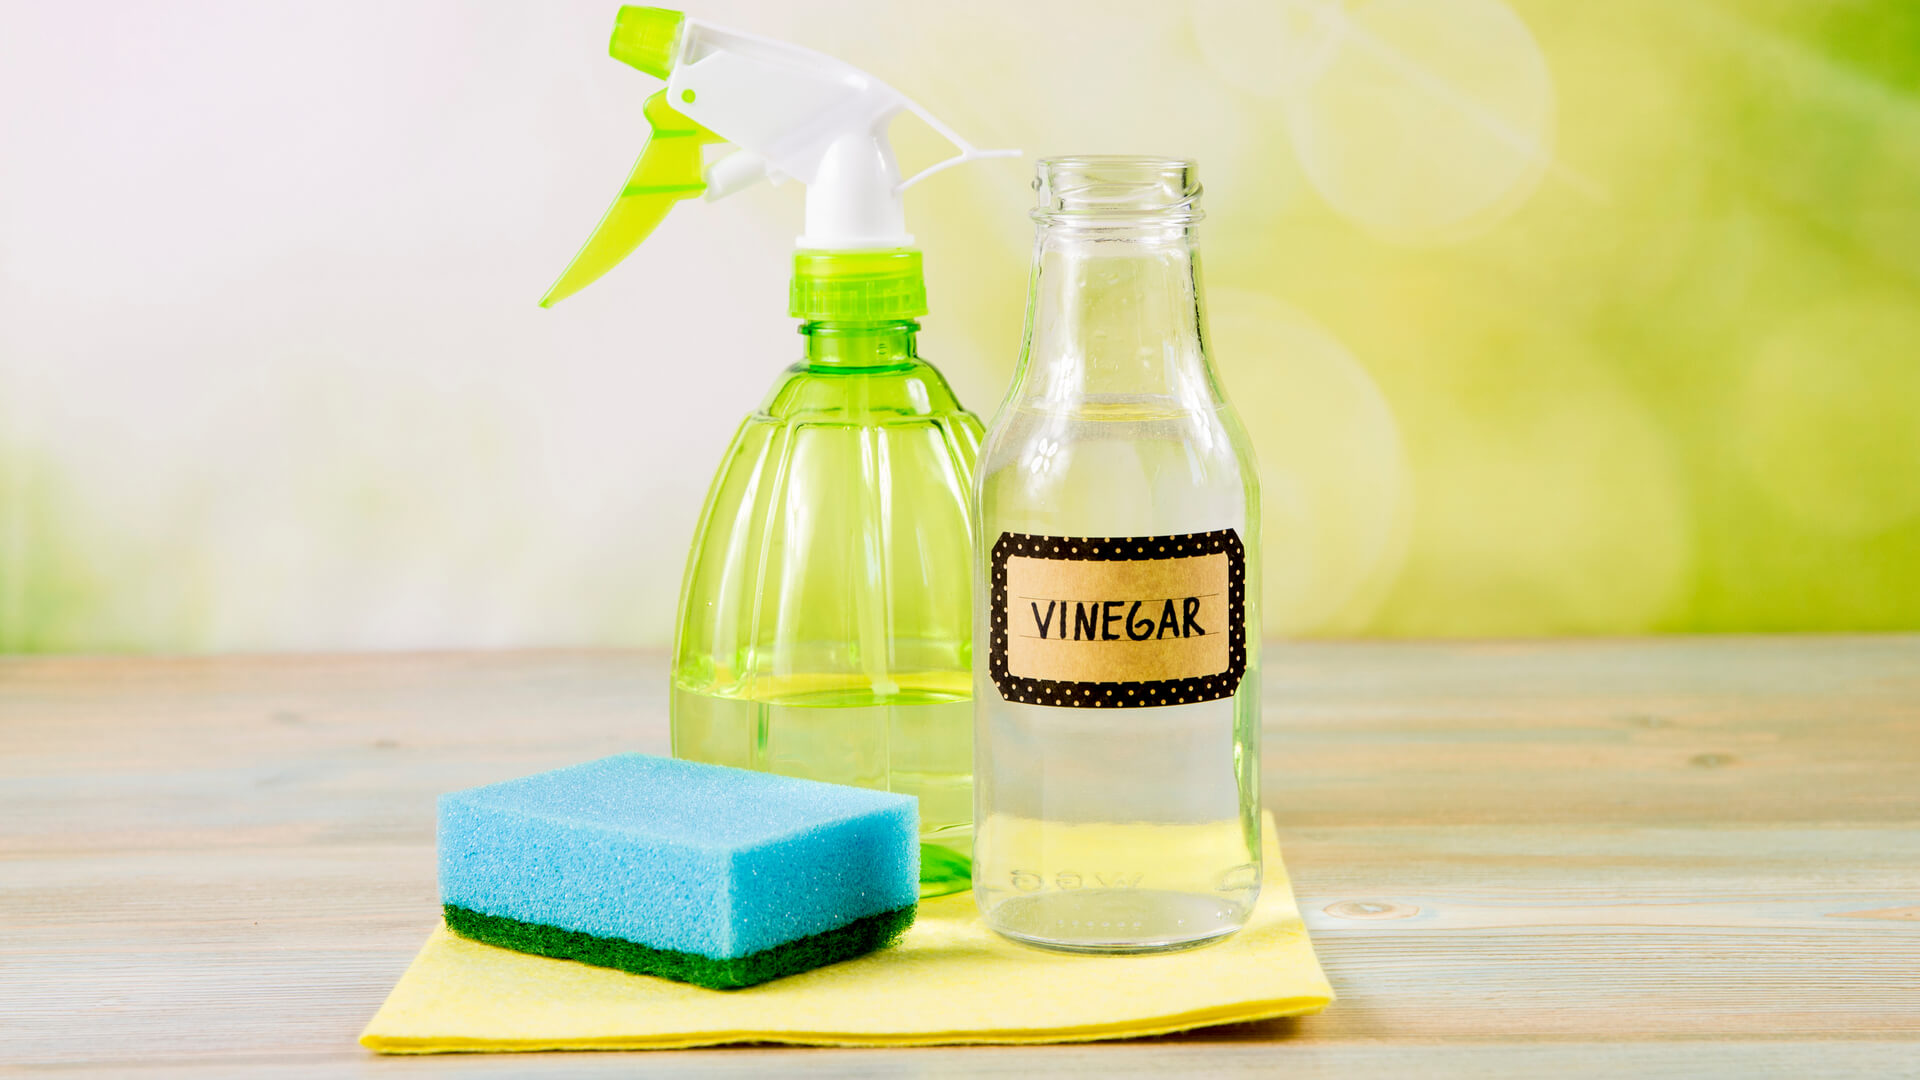
- Water
- White vinegar
- Bleach or hydrogen peroxide
- A brush with soft bristles
- Clean towels
- Gloves and goggles
Cleaning the Water Tank
First, you’ll need to unplug your humidifier from the power source and dismantle it part by part. Empty out your water tank and lay out all the pieces in a way that allows for easier recognition. If your humidifier has a filter, remove it, too.
Once that’s done, pour white vinegar into the water tank until it fills all the areas that regularly come in contact with water. Fill a large container with white vinegar along with the smaller parts of the humidifier. Allow all of the parts to soak for 30 minutes to breakdown the limescale. Using the soft-bristled brush, clear away any more residue that’s stuck, especially in the smaller, hard-to-reach areas, and flush out the vinegar once done.
After that, fill the water tank two-thirds full with water and add a tablespoon of bleach to disinfect the tank. You can use 3% hydrogen peroxide as a substitute for bleach, too. Allow the tank to sit for 30 minutes with the disinfectant solution, then swish the solution around to ensure that it reaches every nook and cranny.
Next, you’ll need to thoroughly rinse out all the parts you’ve just disinfected. Bleach is a very strong chemical and can be dangerous if inhaled. You may need to repeat this step several times until you can no longer smell the disinfectant solution. Once the smell is gone, lay out all the parts to air dry on top of a clean towel. Air drying also helps remove any residual smells.
Cleaning the Filter
If your humidifier has a wick filter (as most evaporative humidifiers do), then cleaning it is just as important as cleaning the rest of the humidifier. The filter traps mineral deposits from hard water or tap water. When these mineral deposits accumulate, your filter becomes less efficient. This is why it’s just as important to clean the filter on a weekly basis.
To do this, remove the filter and separate it from the other parts. Fill a large container with water and add 2 cups of white vinegar. Place the filter in the container and allow it to soak for at least 30 minutes. After that, you can remove the filter from the container and rinse it under running water. This will need to be done a few times to remove the strong smell of vinegar. After rinsing, you can leave it to air dry before replacing it inside the humidifier.
Cleaning the Base
Cleaning the base is quite similar to how you clean the other parts of the humidifier. Simply pour white vinegar into the base and allow it to sit for 30 minutes. After that, rinse and wipe down the base until all traces of vinegar is removed. Allow it to air dry along with the other parts.
After all the parts have been cleaned and dried completely, then you can reassemble your humidifier and use it as usual to enjoy refreshing and soothing air at home.
Long-term Cleaning and Maintenance Tips
1. Filter Care and Replacement
Wick filters can last anywhere from 1 month to 3 months, depending on how often you use your humidifier. When left unchecked for long periods of time, wick filters can become breeding grounds for bacteria and mold or mineral build-up, all of which can lead to clogging. A clogged wick filter will greatly impede the performance of your humidifier and cause it to work harder than it should. This, in turn, will cause the humidifier to use up more energy and burn out more quickly.
You can prevent this by checking the wick filter regularly for signs of bacteria and mold growth, which is characterized by a darkening of the filter. Keep an eye on the humidity output of your humidifier as well: a humidifier with a dirty wick will work more slowly even on the highest setting and will take a longer time to empty the tank than normal. If the humidifier still isn’t performing as it should even after you’ve cleaned the wick filter, then you know it’s time to replace it.
2. Use Distilled Water
Most experts recommend using distilled water for your humidifier, regardless of the type of humidifier that you have. Although more expensive in the long run, distilled water is still a healthier and safer choice than tap water which is full of minerals and other trace elements. These minerals, in turn, promote bacterial growth, leave mineral deposits in the humidifier, and clog up the filter. By using distilled water, you lessen the chances of these negative effects from happening.
3. Rinse Out Water Tank Before Each Use
Each time you use your humidifier, make it a point to empty the water tank of any water that’s been left there and rinse it out with water. Disinfecting daily is not necessary, but it will ensure that the mist you inhale is as clean and bacteria-free as possible.
4. Clean and Drain Before Storage
During the warmer, more humid seasons, it’s time to give your humidifier a chance to rest. Before storing it, make sure you give it a deep clean as stated above and let it dry thoroughly. The drying part is essential as any moisture left in the humidifier could promote bacteria and mold growth while in storage. Make sure you store in a clean, cool, and dry place.


